04.18.2020 | Project 2 - Setup
- Jeremy Moore

- Apr 18, 2020
- 2 min read

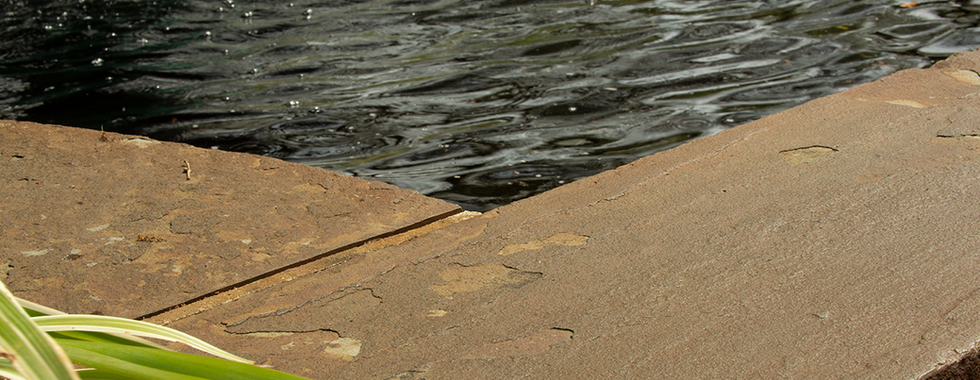


Like I mentioned in my last post, I decided to use the photoset taken by Sarah Alstyne. I began the process of setting up my Maya scene and matching my camera by using the focal length and resolution values that I accessed from the photo properties.
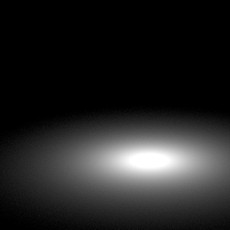
I used the cube image first to make sure my camera placement was correct. Then I created a spotlight to be my keylight and used the cube reference image to align my shadow. Once the shadows matched, I knew my keylight was in the correct spot. Then I created a polysphere and scaled it to become my HDR dome. I assigned a Maya surface shader to it, then attached my HDR images as a projection. Once that was done, I switched out the cube reference image with the grey ball reference.


I noticed that the sun had shifted a little between the cube and grey ball references so I tweaked my keylight slightly to match. I used the grey ball reference to ensure the intensity of my keylight is correct based off the size of my specular highlight. I also set up my gound plane to be a bounce by projecting my clean plate reference image onto it from the perspective of my render camera.


I then setup my render layers (beauty, shadow, object occlusion, and ground occlusion). Then I took these images and used them to set up the beginnings of my Nuke node tree.


After I set everything up on Nuke, I was able to make quick adjustments in Maya in order to get a closer result. This is what I currently have. Next I intend to bring my Stanford model into the scene and start experimenting with the aiStandardSurface shader's transmissive attributes. That'll be the fun part. Stay tuned!


Comments